
内网渗透日记-BloodHound
为什么用Legacy而不用CE呢,是因为旧版的资料多
介绍
BloodHound是一个可视化图形分析域环境中的关系的工具。
一般是从内网中采集数据后拖入BloodHound进行域内分析。
BloodHound是依赖Neo4j来存储数据的。
Neo4j是一个图形数据平台,允许存储和管理连通的数据。
环境搭建
Neo4j部署
Kali部署Neo4j
直接用apt安装就好。
└─$sudo apt install neo4j
┌──(kali㉿kali)-[~]
└─$ sudo neo4j -h
Usage: Neo4j <COMMAND>
Neo4j database server CLI.
Commands:
  console             Start server in console.
  start               Start server as a daemon.
  stop                Stop the server daemon.
  restart             Restart the server daemon.
  status              Get the status of the server.
  version, --version  Print version information and exit.
  help, --help        Displays help information about the specified command

└─$ sudo neo4j start
Directories in use:
home:         /usr/share/neo4j
config:       /usr/share/neo4j/conf
logs:         /etc/neo4j/logs
plugins:      /usr/share/neo4j/plugins
import:       /usr/share/neo4j/import
data:         /etc/neo4j/data
certificates: /usr/share/neo4j/certificates
licenses:     /usr/share/neo4j/licenses
run:          /var/lib/neo4j/run
Starting Neo4j.
Started neo4j (pid:32361). It is available at http://localhost:7474
There may be a short delay until the server is ready.
http://localhost:7474是网页地址,稍后用BloodHound连接。
连接地址是:bolt://localhost:7687,默认账号密码都是neo4j。
Docker部署Neo4j
电脑主系统是Ubuntu,所以部署docker的时候没有设置端口映射和开机启动。如果在服务器上部署,可以映射端口和设置开机启动。
第一次启动设置好映射的存储目录
docker run -d --name neo4j-live -p 7474:7474 -p 7687:7687 -v [本地data目录]]:/data -v [本地logs目录]:/logs -v [本地conf目录]:/var/lib/neo4j/conf -v [本地import目录]:/var/lib/neo4j/import --env NEO4J_AUTH=[用户名]/[密码] neo4j
启动之后,方便下次使用创建一个start.sh脚本,或者设置成开机启动。
docker start neo4j-live
docker ps --filter "name=neo4j-live"
docker inspect neo4j-live | grep '"IPAddress"'
第一行是启动容器,因为我没设置开机启动。
第二行查看信息用的。
第三行获取neo4j容器的地址,因为我没有映射到本机,下次连接就用输出的ip地址进行连接。
BloodHound下载
最新版是CE,为什么用Legacy而不用CE呢,是因为旧版的资料多😆
在下面的页面上找Releases下载客户端。
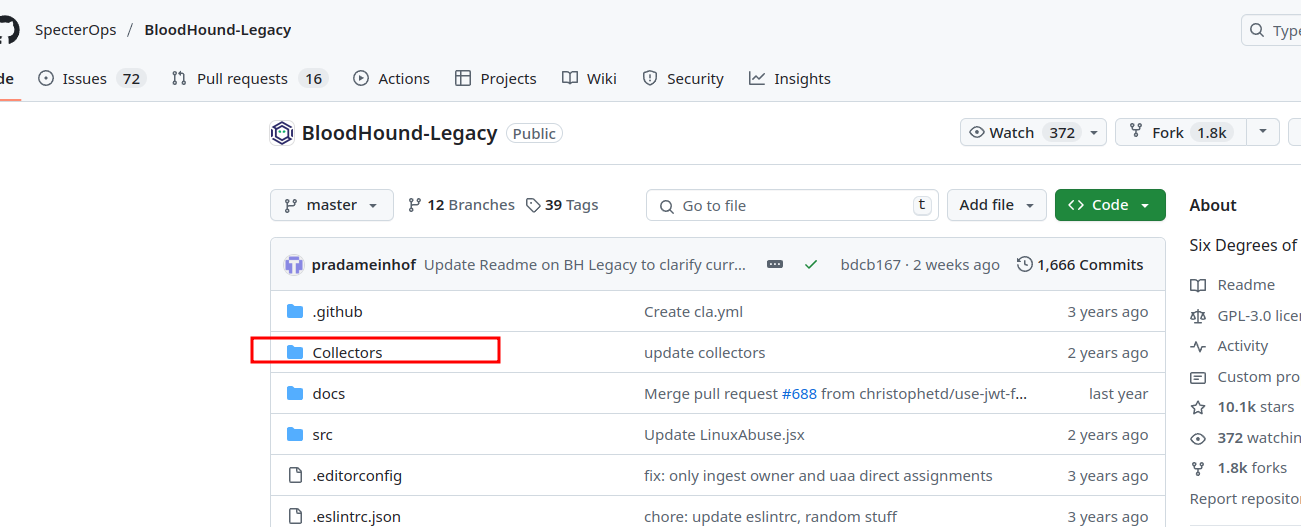
https://github.com/SpecterOps/BloodHound-Legacy

这个客户端连接Neo4j之后需要导入数据。
数据采集器
自带的采集器
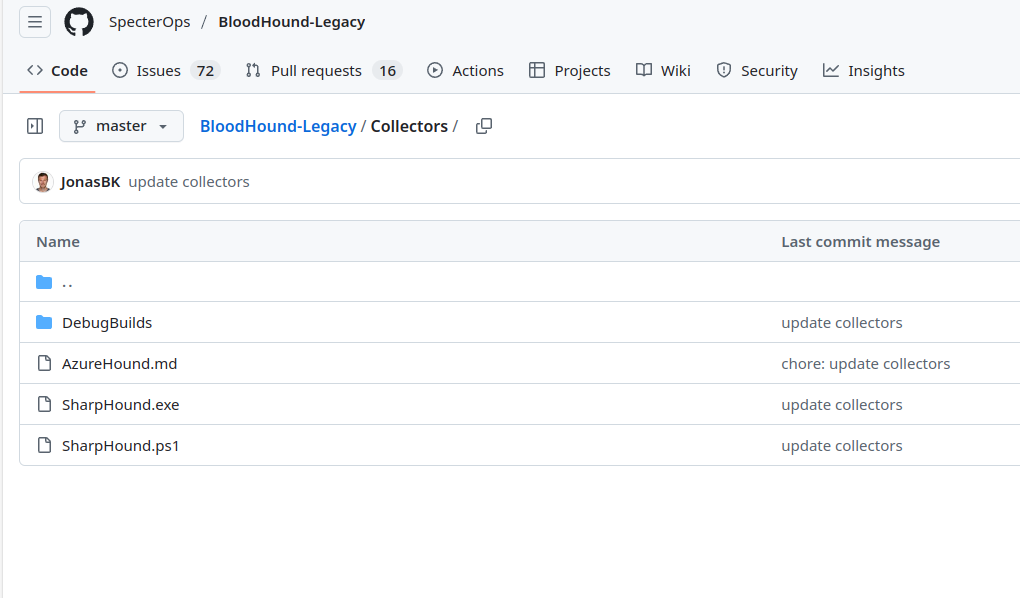
数据的收集需要使用仓库Collectors的文件,可以clone仓库到本地
git clone https://github.com/SpecterOps/BloodHound-Legacy.git
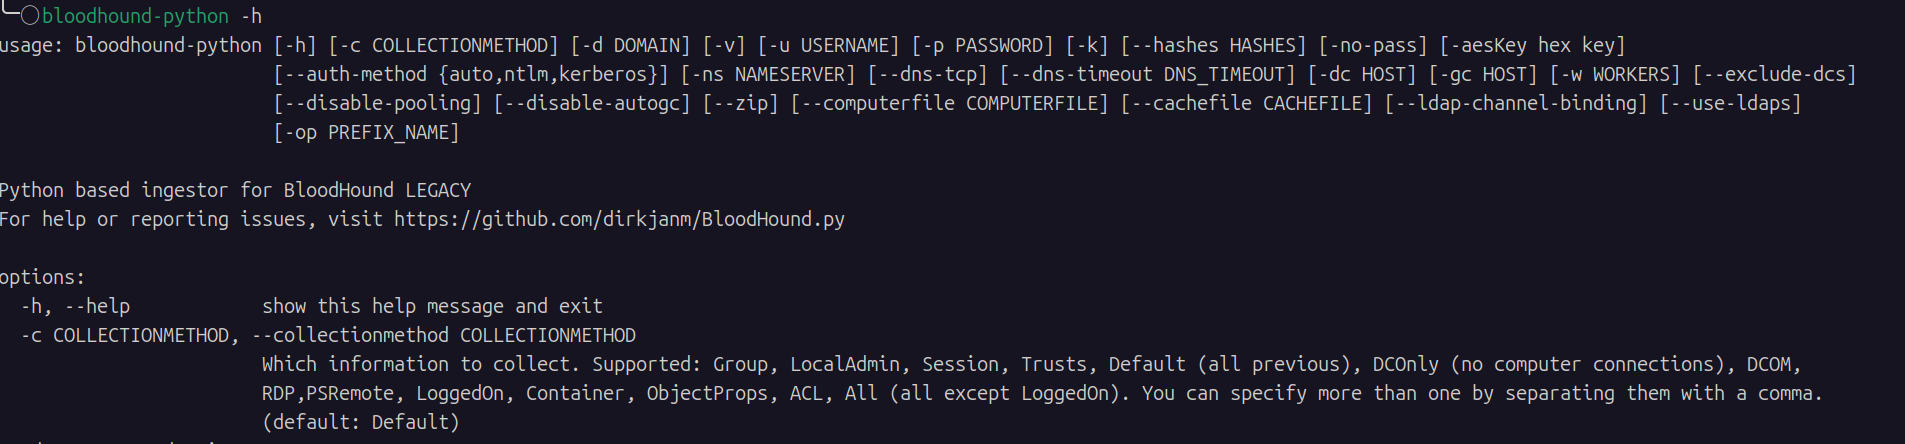
BloodHound.py
BloodHound.py 是一款基于 Python 开发的 BloodHound数据收集器,底层基于 Impacket 框架实现。
README中的三种安装方式
- Via pip:
pip install bloodhound - Via pipx:
pipx install bloodhound - By cloning this repository
git clone https://github.com/dirkjanm/BloodHound.pyand runningpip install .from the project directory.
安装完之后直接在终端中使用。
基础使用
环境:kali2024
1.数据采集
2.Blooud客户端启动进行数据导入
解压后打开BloodHound

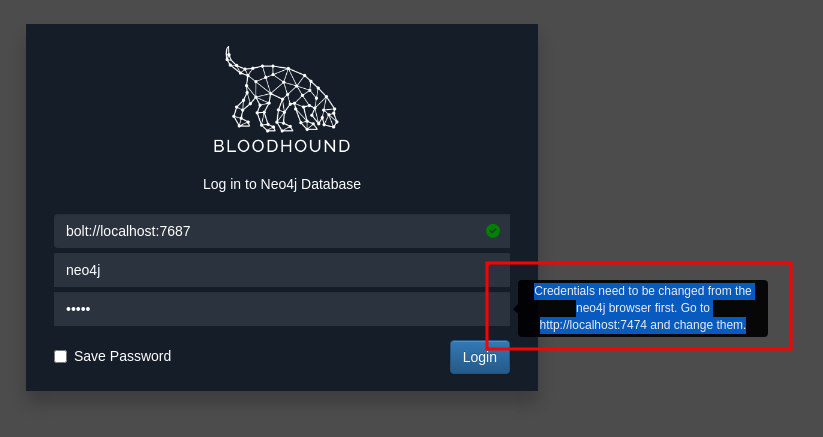
要我改默认密码,
Credentials need to be changed from the neo4j browser first. Go to http://localhost:7474 and change them.
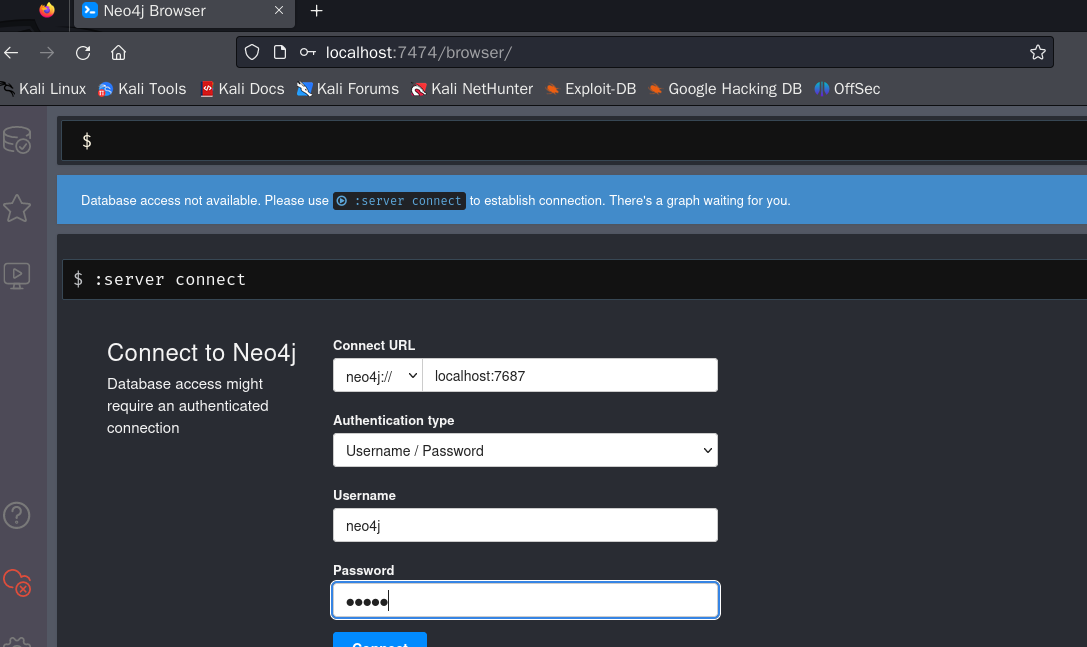
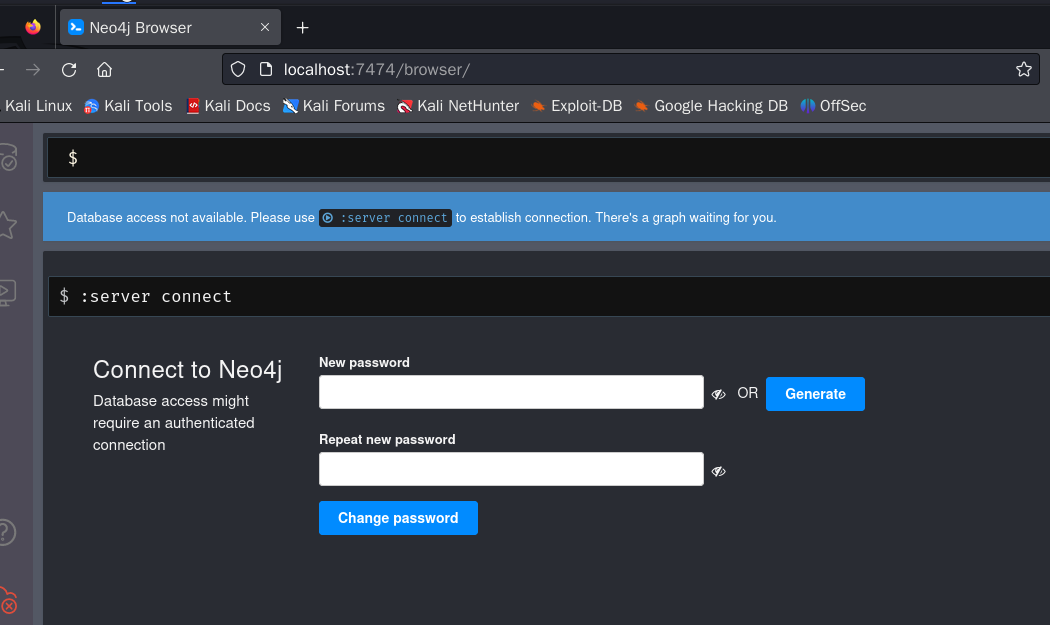
登陆之后需要改新的密码。这里我用Neo4j666。
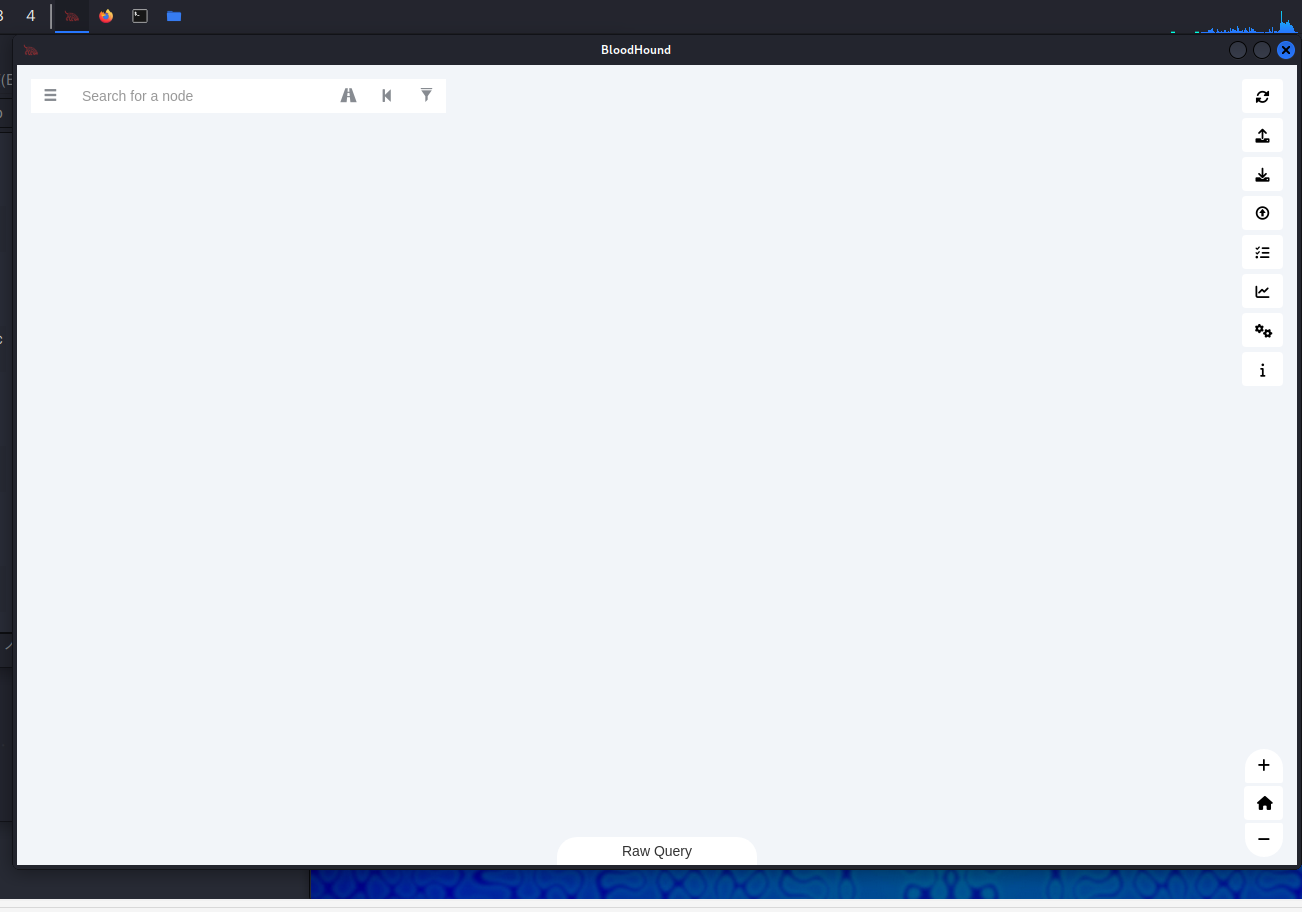
更改完毕之后回到BloodHound,用新密码登陆。下面就是主界面了。
3.数据分析
一般是直接把zip文件拖进来。在左栏分析。
评论区
评论加载中...